The Green Oasis: Growing Clover from Seed
Thanks to its numerous benefits, Clover has become increasingly popular among homeowners and garden enthusiasts, myself included. It’s a pleasure to see clover thriving in my garden, given its array of positive impacts. From its ability to fix nitrogen in the soil to its low-maintenance nature and the attraction of pollinators, there’s no shortage of reasons to incorporate clover into your lawn or garden. This comprehensive guide will cover everything you need to know about how to grow clover, including how to plant it into an existing lawn and more.
Clover Varieties: Choose the Best for Your Needs
There are over 300 species of clover, but a few varieties stand out for their ease of cultivation and suitability for various purposes. The most popular clover varieties include:
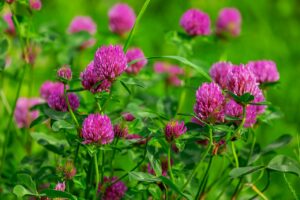
- Red Clover (Trifolium pratense): This variety is often used in agricultural settings as a cover crop to improve soil fertility. It has larger leaves and flowers, making it an attractive option for ornamental purposes.
- Crimson Clover (Trifolium incarnatum): With its striking red flowers, crimson clover is an excellent choice for those looking to add a pop of colour to their landscape.
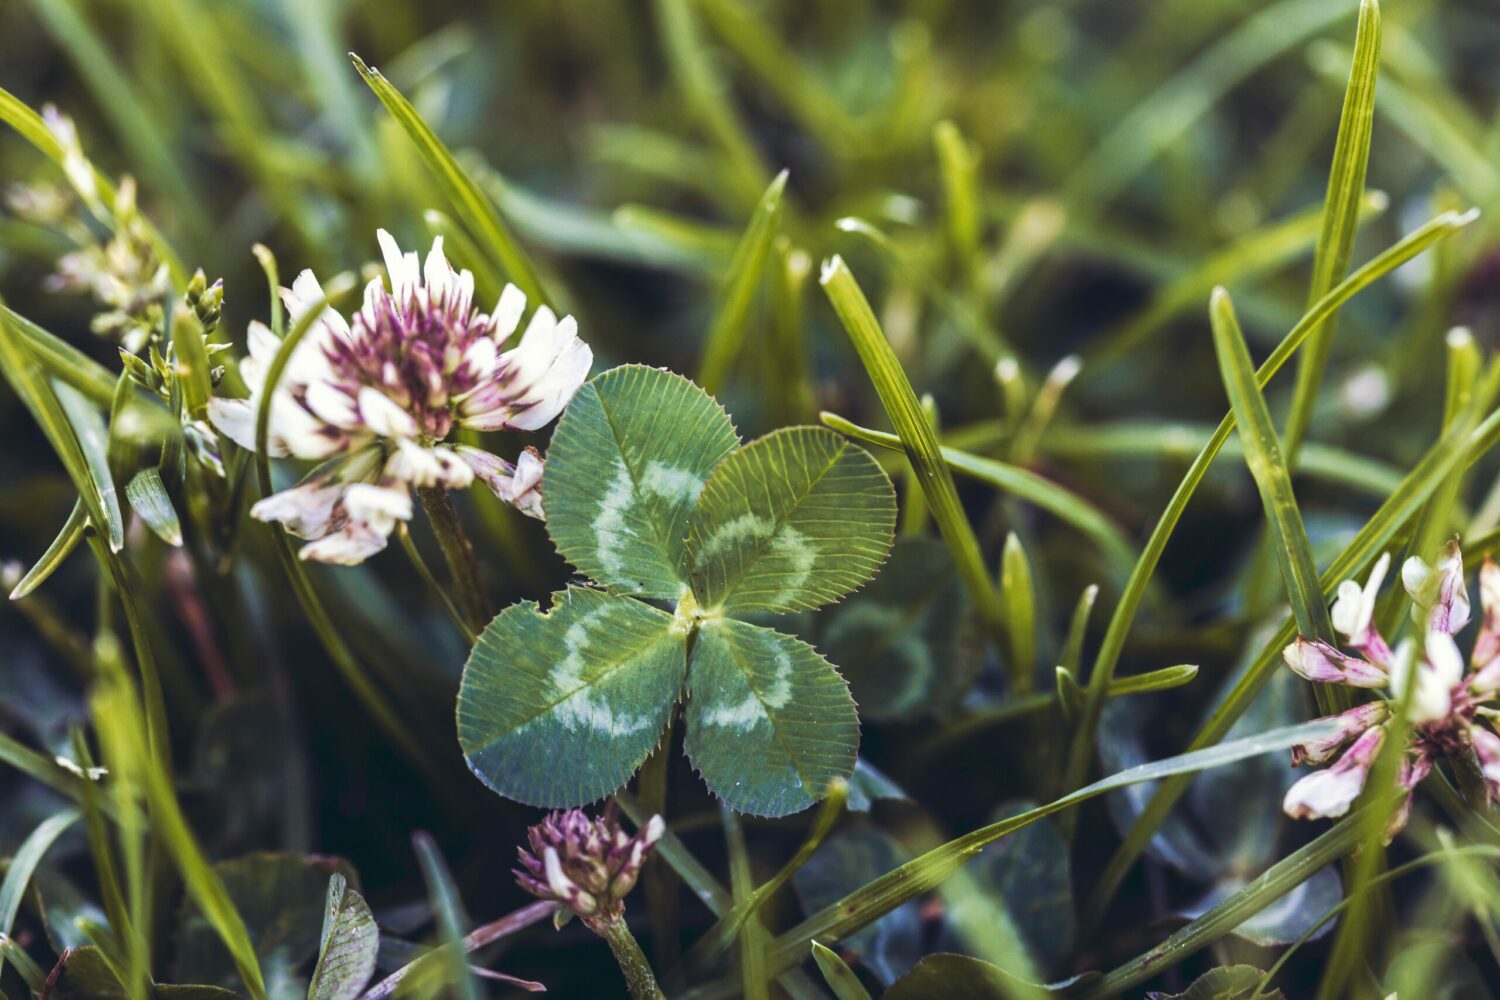
- White Clover (Trifolium repens): This is the most common clover variety found in lawns and is ideal for creating a lush, green, and low-maintenance ground cover. It’s also great for attracting pollinators.
- Microclover (Trifolium repens var. Pirouette): A smaller, more drought-tolerant variety of white clover, microclover is perfect for those seeking a dense, low-growing lawn alternative that requires less mowing and watering.
How to Grow Clover
Planting Clover Seed: A Step-by-Step Guide
Now that you’ve chosen the ideal clover variety for your needs, it’s time to learn how to plant clover seeds. Follow these simple steps to ensure success:
- Soil preparation: It thrives in well-draining soil with a pH between 6.0 and 7.0. Begin by testing your soil’s pH and amending it as necessary. Loosen the soil to a depth of at least 4 inches, and remove any debris or weeds.
- Seed selection: Purchase high-quality seed from a reputable supplier. Be sure to choose a variety that suits your climate and intended use.
- Sowing the seeds: Scatter the seed evenly over the prepared soil at 0.25 to 0.5 ounces per 1,000 square feet for a new lawn. Lightly rake the seeds into the soil to ensure good seed-to-soil contact. For an existing lawn, see the following section on how to plant a clover lawn.
- Watering: Keep the soil consistently moist but not waterlogged until germination occurs. Depending on your climate and soil conditions, this may require watering once or twice daily.
- Fertilizing: While it can fix nitrogen in the soil, it may still benefit from a light application of a balanced, slow-release fertilizer at planting time. Avoid using high-nitrogen fertilizers, as they will encourage the growth of grass and weeds over the clover.

How to Plant a Clover Lawn
Incorporating Clover into Your Existing Lawn
The process is relatively straightforward if you’re wondering how to plant clover on an existing lawn. Follow these steps to ensure success:
- Mowing: Begin by mowing your lawn as short as possible without damaging the grass. This will help the seeds make better contact with the soil and reduce competition from existing grass.
- Aerating: Aerate your lawn using a core aerator or a manual aerating tool. This will help improve soil drainage and create small openings for the seed to penetrate.
- Seeding: Broadcast the seed evenly across your lawn at a rate of 0.25 to 0.5 ounces per 1,000 square feet. You can use a hand-held or push broadcast spreader to ensure even distribution.
- Raking: Gently rake the lawn to help the seeds settle into the soil and aerated holes. This step will increase the seed-to-soil contact, improving germination rates.
- Watering: Water the lawn thoroughly after seeding and moisten the soil until the seeds germinate. This may require daily watering, depending on your local weather conditions.
Fertilizing Clover
Fertilizing is essential in ensuring a lush, healthy, and productive crop. It is a versatile plant that adds visual appeal to lawns and fields and enriches the soil by fixing nitrogen. To achieve the best results, it’s crucial to select the best fertilizer for clover and apply it correctly. This guide will explore the top factors to consider when fertilizing clover and the best practices for optimal growth and performance.
-
Nutrient Requirements of Clover
Before fertilizing clover, it’s essential to know the specific nutrient requirements of the variety. In general, it will thrive when supplied with an adequate amount of nitrogen (N), phosphorus (P), and potassium (K). However, since it is a nitrogen-fixing plant, applying too much nitrogen-rich fertilizer can inhibit this process, resulting in less nitrogen fixation and poorer overall growth.
-
Soil Testing for Precise Fertilization
Performing a soil test before fertilizing can provide valuable information about the current nutrient levels in your soil, helping you make informed decisions about which fertilizer to use. This way, you can avoid over-fertilizing or under-fertilizing, ensuring optimal growth and health.
-
Fertilizing at the Right Time
Timing is crucial when it comes to fertilizing clover. The best time to apply fertilizer is in the early spring, as the plants grow, or in the fall after the last cutting or grazing. This allows the plants to absorb nutrients efficiently, leading to vigorous growth and a healthy root system.
-
Application Methods for Fertilizing Clover
When it comes to fertilizing clover, there are several methods to choose from:
- Broadcasting: This method spreads the fertilizer evenly across the soil’s surface. It’s a quick and easy way to fertilize large areas but may not provide the most precise application.
- Side-dressing: This technique involves applying fertilizer in a band alongside the plants, ensuring the nutrients are readily available for uptake. Side-dressing is a more targeted approach, making it ideal for fertilizing in smaller areas.
- Liquid Fertilization: Liquid fertilizers can be applied through irrigation systems or with a sprayer, ensuring even distribution and rapid plant absorption.
Best Fertilizer for Clover
Selecting the best fertilizer for clover is essential to ensure that your plants receive the appropriate nutrients. Look for fertilizers with a low nitrogen content and higher phosphorus and potassium levels. A balanced N-P-K ratio, such as 5-10-10, is often recommended for fertilizing clover.
In conclusion, fertilizing your plants is a crucial step in maintaining the health and productivity of your plants. By understanding the nutrient requirements of the species, choosing the best fertilizer for clover, and applying it at the right time and in the proper manner, you can ensure a thriving and vibrant crop.
Germination & Height
Knowing how long it takes for clover to germinate and how tall clover grows can help you set realistic expectations for your clover lawn or garden.
How Long for Clover to Germinate?
The time it takes for the seeds to germinate largely depends on the variety and environmental conditions. Factors such as soil temperature, moisture, and seed quality can affect the germination rate. Typically, you can expect the seeds to begin germinating within 5 to 14 days after planting.
How Tall Does Clover Grow?
Clover height varies by species and environmental conditions. White clover, for example, typically grows to a height of 4 to 8 inches, while red clover can reach 12 to 18 inches in height. Remember that regular mowing will keep the plants at a more consistent and manageable height, especially when incorporated into a lawn setting.
Clover Companion Plants
Clover companion plants can greatly benefit your garden by creating a more diverse and vibrant ecosystem. When you pair clover with compatible plant species, you’ll notice an increase in overall plant health, pollinator activity, and soil fertility. In this section, we’ll explore some of the best clover companion plants to consider for your garden and the advantages they bring to the table.
-
Legumes: Beans and Peas

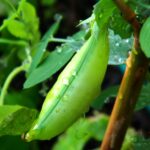
Legumes are among the most popular and effective clover companion plants, particularly beans and peas. Like clover, legumes are nitrogen-fixing plants, meaning they convert atmospheric nitrogen into a form that other plants can readily absorb. This symbiotic relationship helps improve soil fertility, making beans and peas excellent clover companion plants for enriching the soil.
Related Article: How to Grow Beans: A Comprehensive Guide.
-
Brassicas: Cabbage, Kale, and Broccoli

Brassicas, such as cabbage, kale, and broccoli, are another group of clover companion plants that work well together. Clover helps to suppress weeds, which can compete with brassicas for nutrients and space. Additionally, the nitrogen fixed by clover plants is readily available for brassicas, promoting strong growth and high yields.
Related Article: How to Grow Cabbage: Your Complete Guide to Success.
-
Root Vegetables: Carrots, Beets, and Radishes

Root vegetables like carrots, beets, and radishes can also benefit from being clover companion plants. The nitrogen provided by clover helps root vegetables grow larger and healthier. Furthermore, the low-growing clover can act as a living mulch, retaining moisture and suppressing weeds around the root vegetables.
-
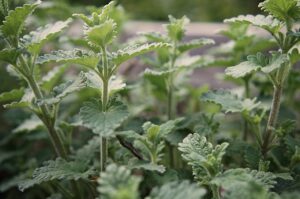
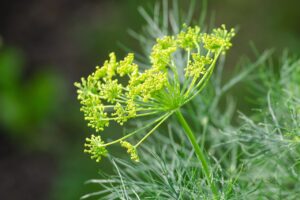
Herbs: Dill, Cilantro, and Basil
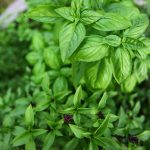
Herbs such as dill, cilantro, and basil are excellent clover companion plants because they help attract beneficial insects and repel pests. Clover’s flowers draw in pollinators, which can enhance the productivity of herbs and other flowering plants in your garden. The mix of clover and herbs also provides a diverse habitat for beneficial insects, promoting a healthy and balanced ecosystem.
Related Articles:
-
Grains: Wheat, Barley, and Oats
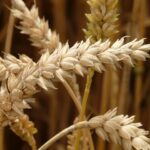
Grains like wheat, barley, and oats are excellent clover companion plants. These grains can benefit from the nitrogen clover provides, leading to healthier plants and higher yields. Moreover, the clover serves as a ground cover, reducing soil erosion and keeping weeds at bay.
-
Fruits: Fruit Trees, Berries, and Strawberries

Fruit plants like fruit trees, berries, and strawberries can benefit from being grown alongside clover. The nitrogen-fixing capabilities of clover can improve soil fertility for fruit plants, while its flowers attract pollinators to enhance fruit production. Planting clover under fruit trees, berry bushes, or between rows of strawberries can lead to a healthier, more fruitful garden.
Incorporating clover companion plants in your garden or landscape can lead to a healthier, more diverse, and more productive environment. By choosing the right clover companion plants, you can take advantage of these plant partnerships’ many benefits, including improved soil fertility, enhanced pollinator activity, and natural pest control.
Related Articles:
Conclusion
Mastering the art of growing clover involves understanding the specific needs and characteristics of this versatile and beneficial plant. You can create a thriving and beautiful clover lawn or field by selecting the appropriate variety, preparing the soil, planting the seeds, and providing proper care through watering, fertilizing, and mowing. A well-established clover habitat enhances the visual appeal of your landscape and contributes to soil health and biodiversity. As you gain experience and confidence in cultivating clover, you’ll enjoy its numerous benefits, including reduced need for chemical fertilizers, increased pollinator activity, and an eco-friendly alternative to traditional lawns or monoculture crops.